Air Conditioner Installation Pictures
Slide title
Button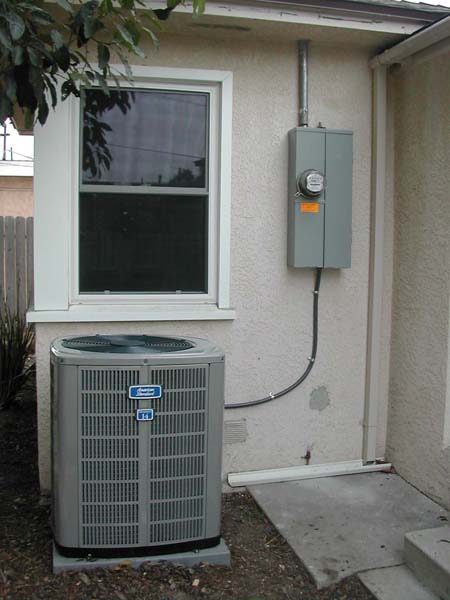
Slide title
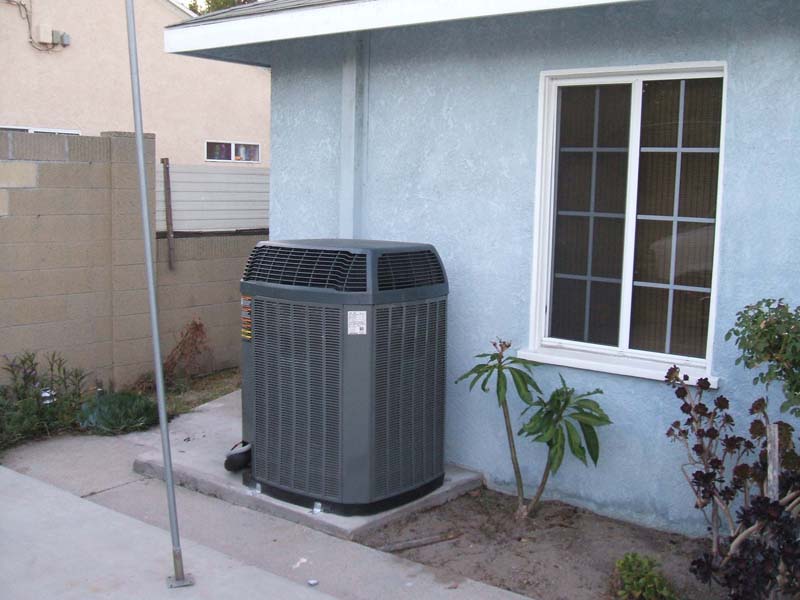
Air Conditioner installed on the outside of home.
Button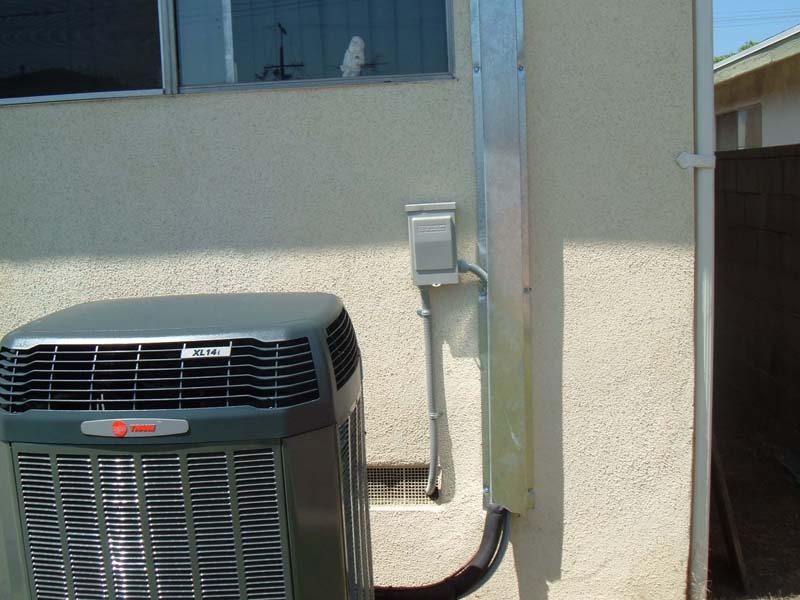
Slide title
Cover plate to hide duct work going into home. Makes for a clean look and protects the lines.
Button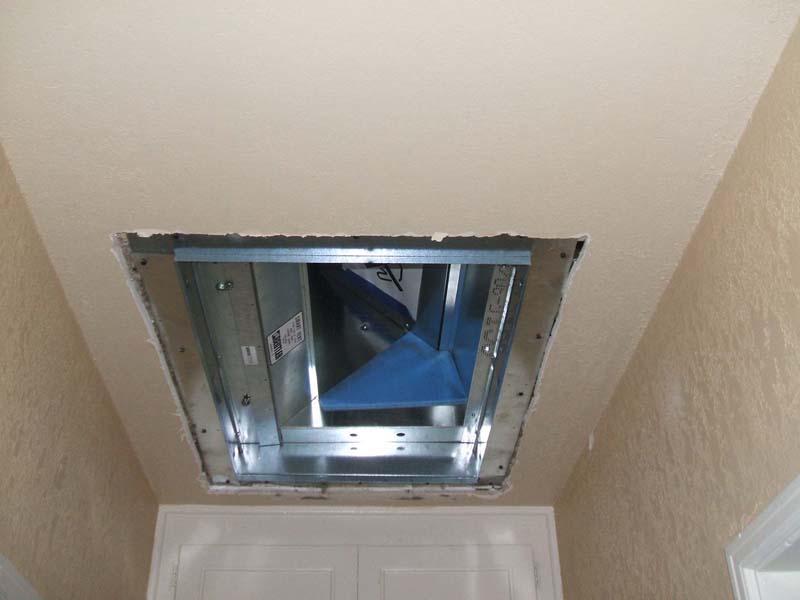
Slide title
Final preparations of return air vent are being made before the register air grille is installed.
Button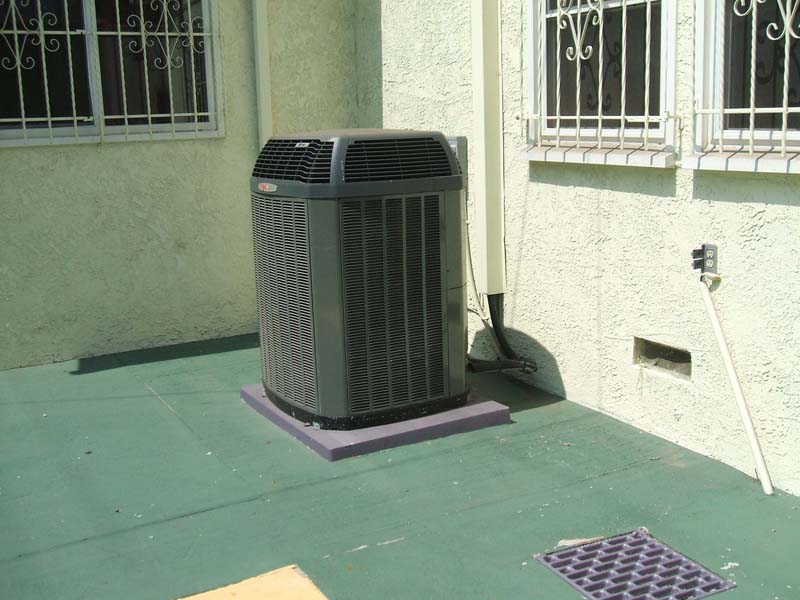
Slide title
Button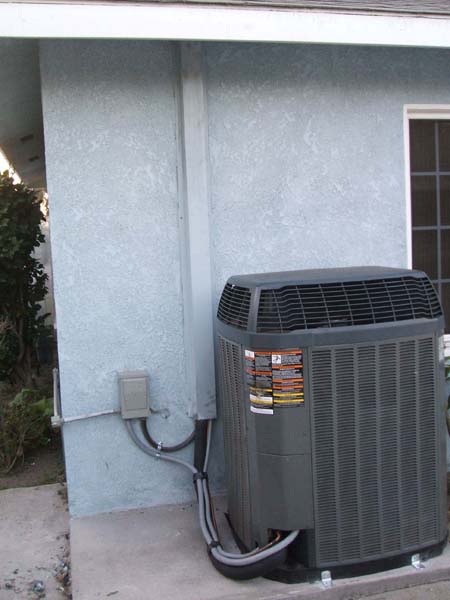
Slide title
Button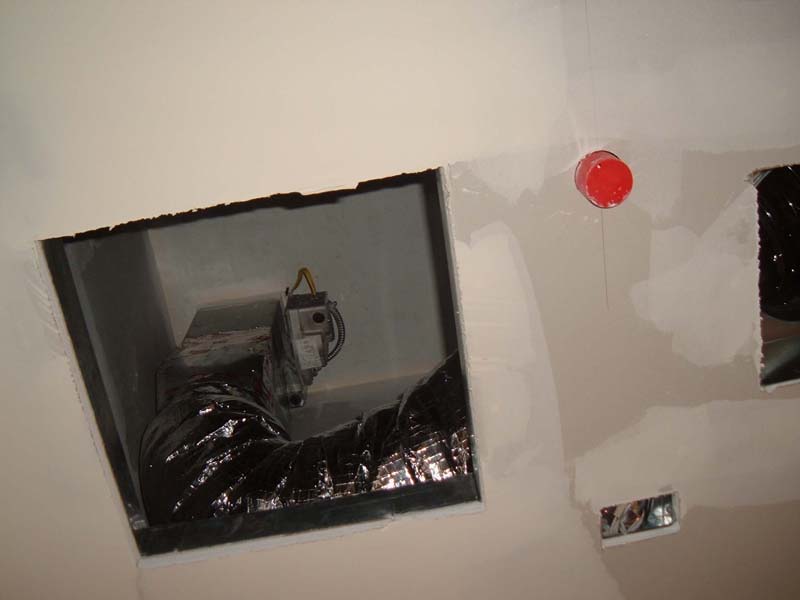
Slide title
Button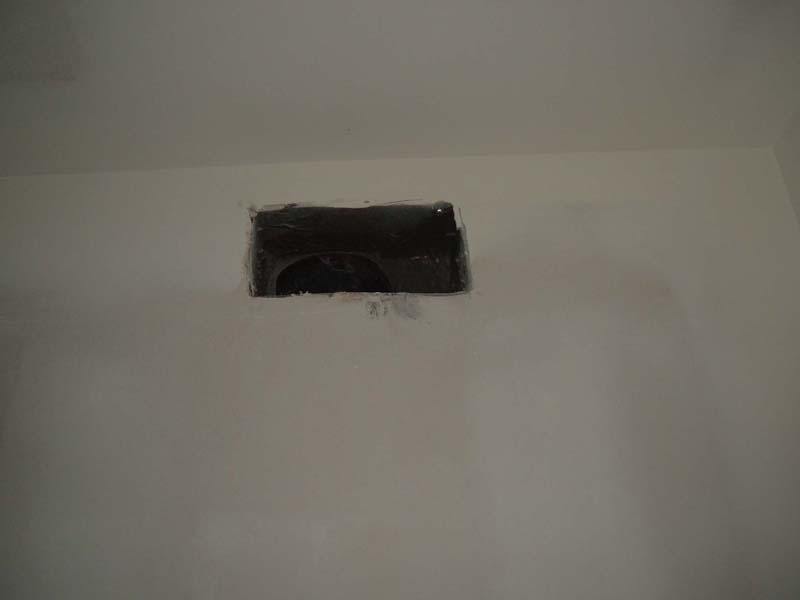
Slide title
Button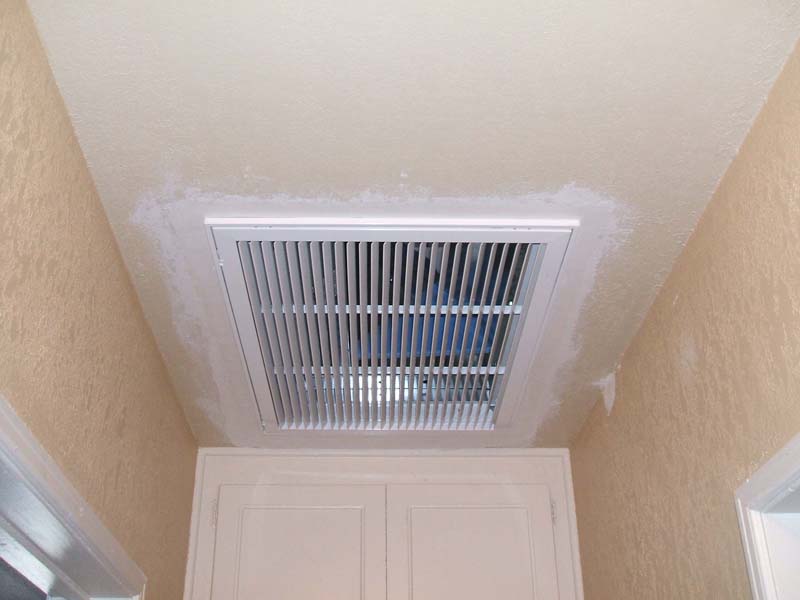
Slide title
Button
Slide title
Button
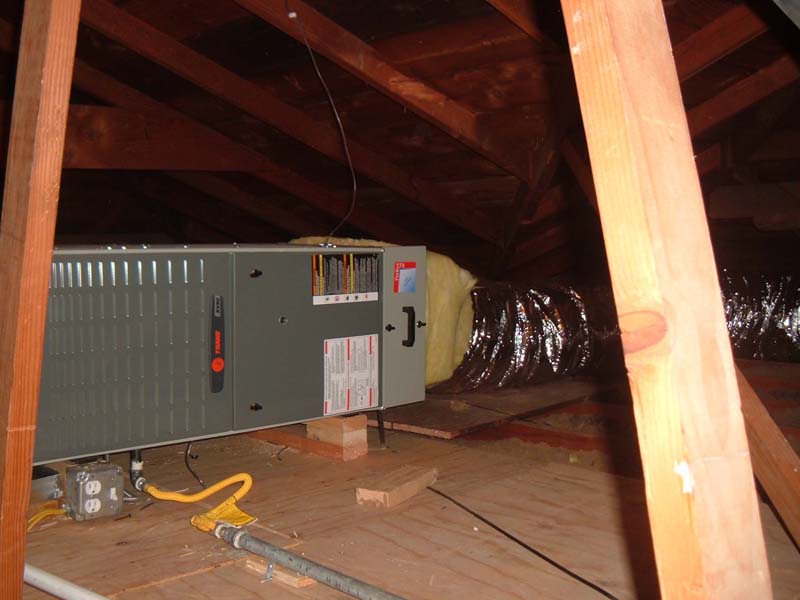
Furnace Installed in Attic
Slide title
Button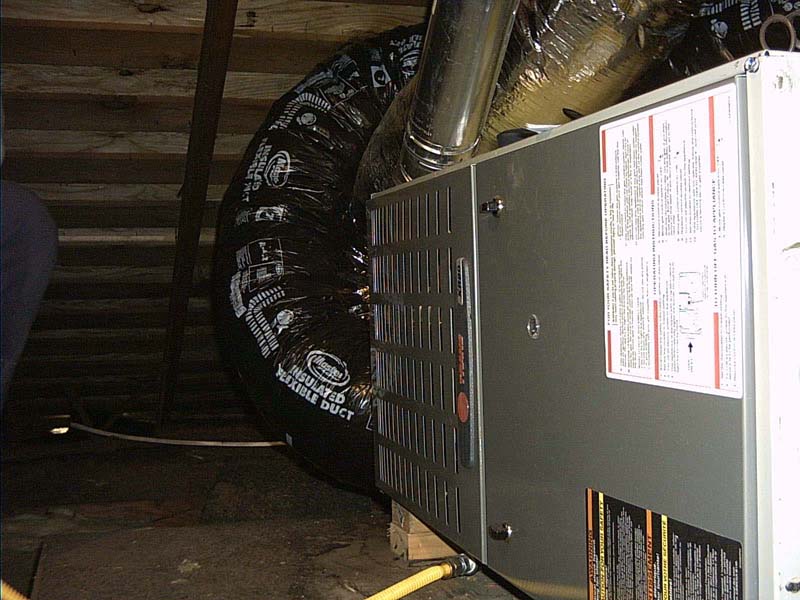
Slide title
Button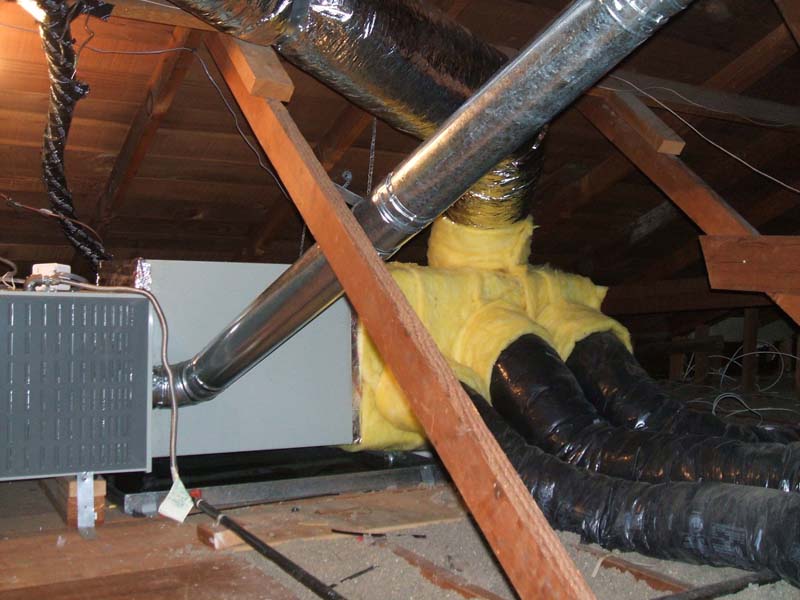
Slide title
Button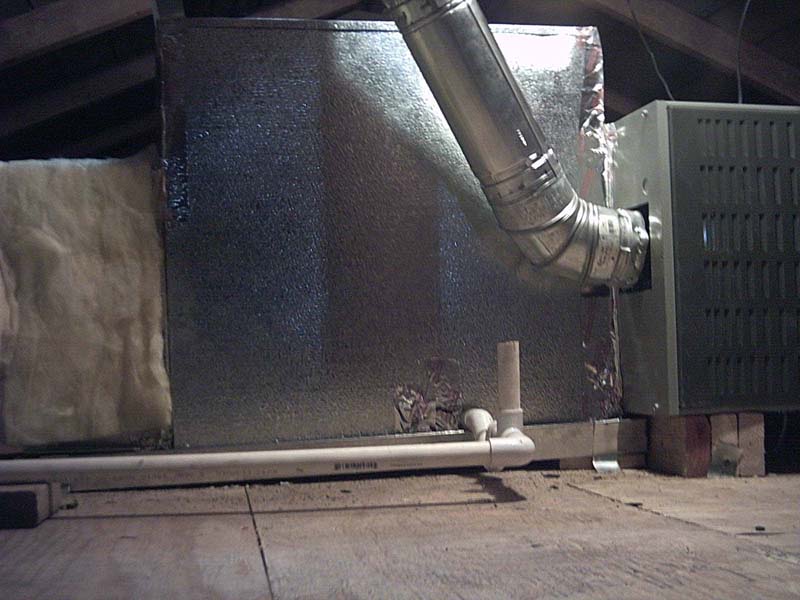
Slide title
Here you can see the connections for the venting duct and drain pipe.
Button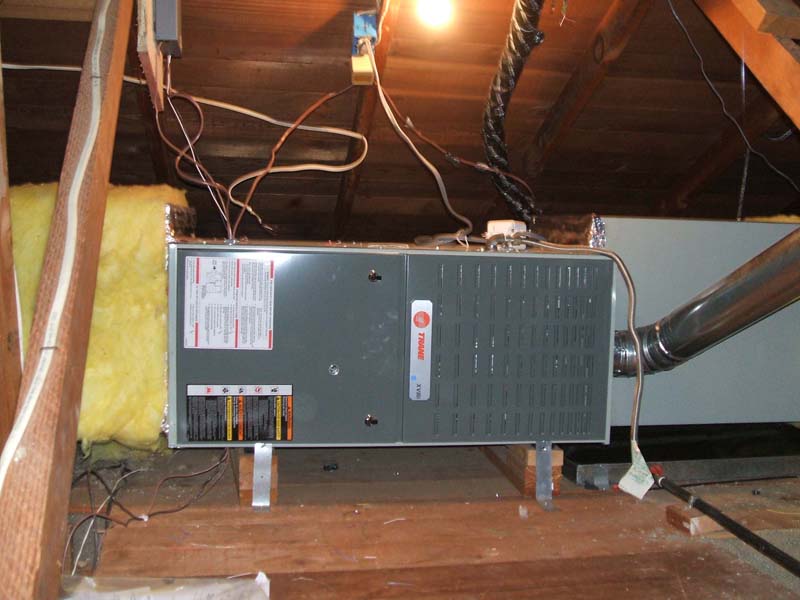
Slide title
Button
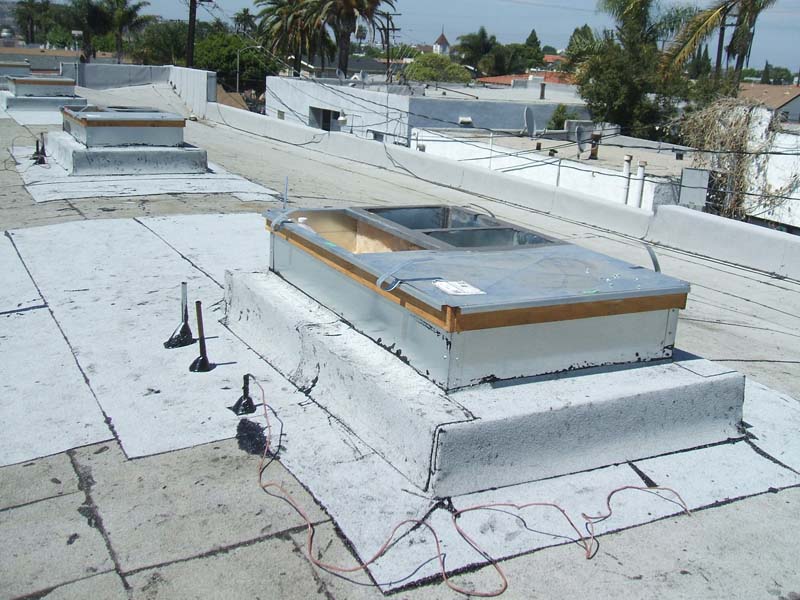
Commercial Installations
Slide title
Write your caption hereButton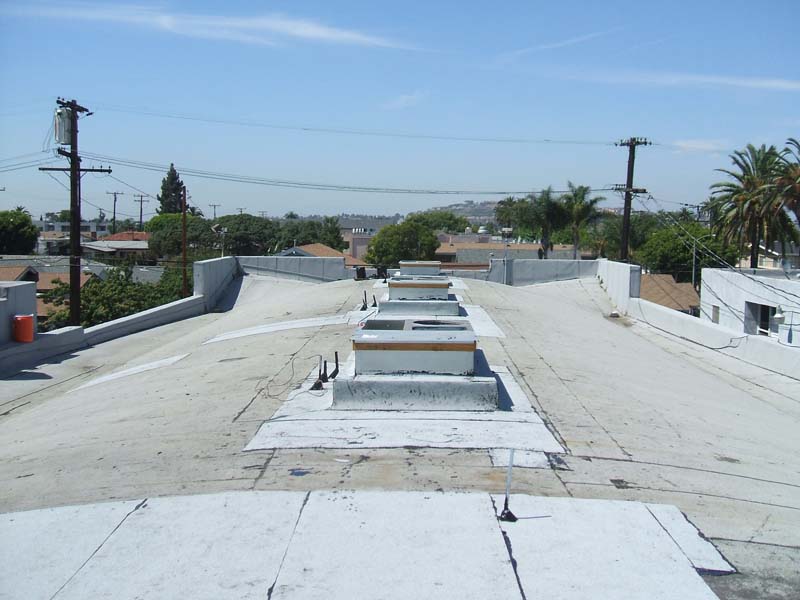
Slide title
Write your caption hereButton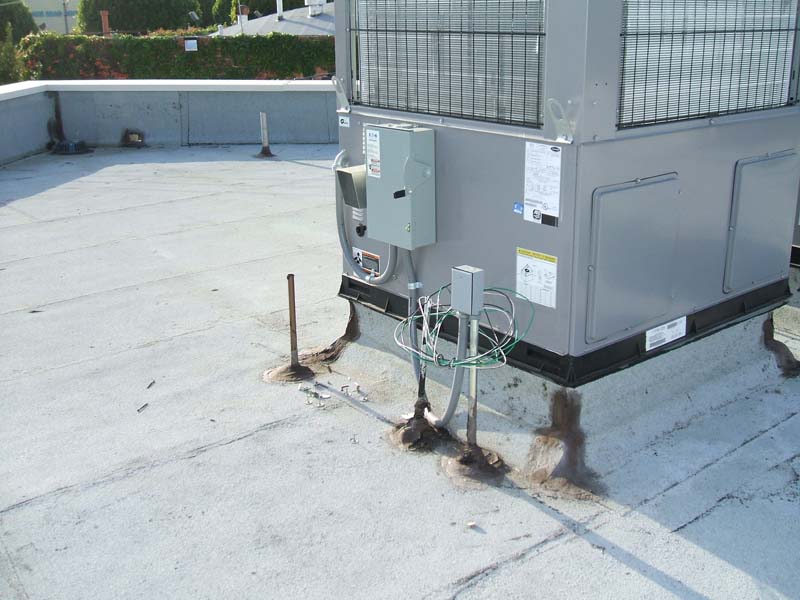
Slide title
Write your caption hereButton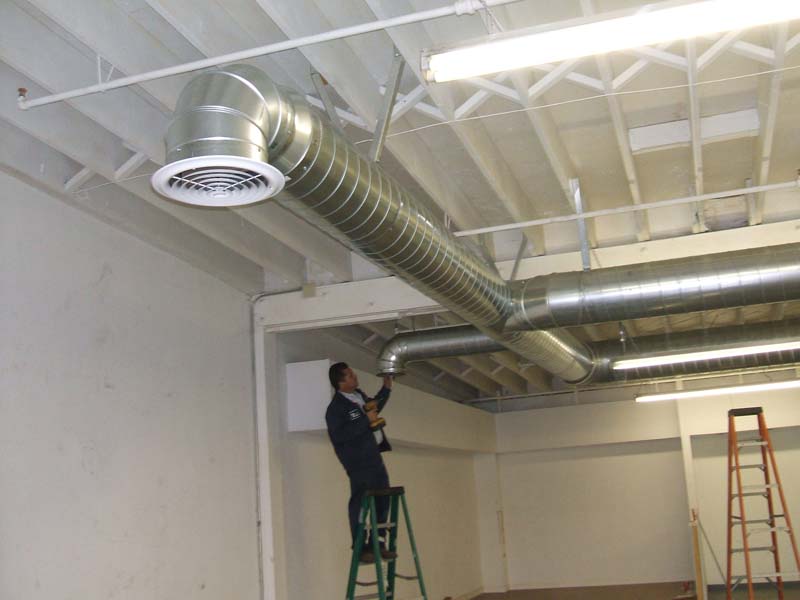
Slide title
Write your caption hereButton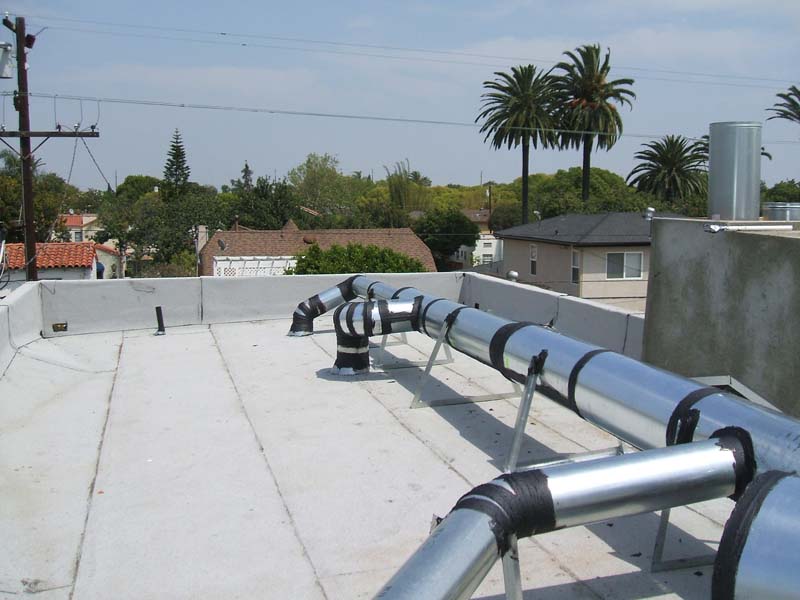
Slide title
Write your caption hereButton
Slide title
Write your caption hereButton
Slide title
Write your caption hereButton
Slide title
Write your caption hereButton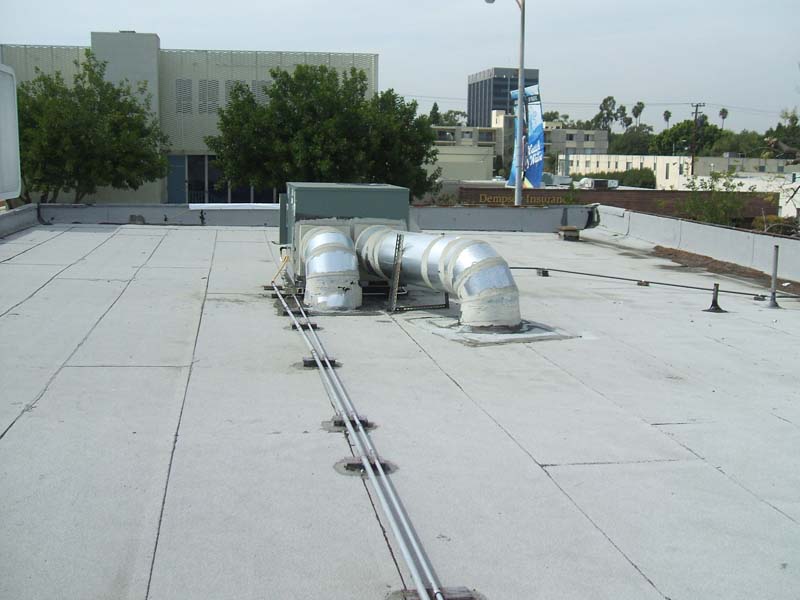
Slide title
Write your caption hereButton
Slide title
Write your caption hereButton
Slide title
Write your caption hereButton
Slide title
Write your caption hereButton
Slide title
Write your caption hereButton
Mini Split / Ductless Systems
Slide title
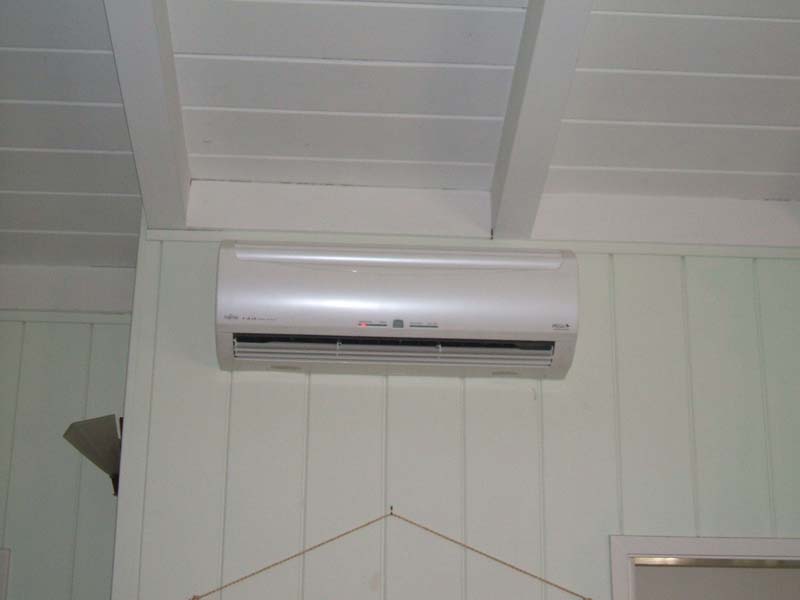
This is an installation of the air handler unit installed in a living room.
Button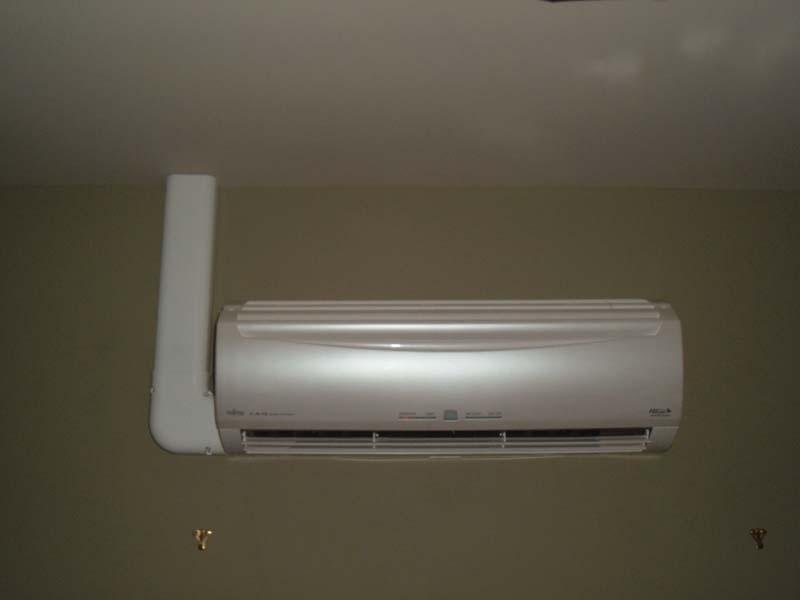
Slide title
This mini split system was installed in a bedroom. These units can provide both heating and cooling.
Button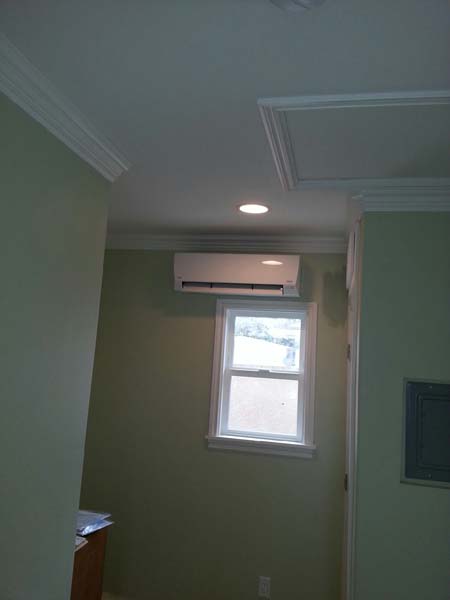
Slide title
These mini split systems can be installed just about anywhere and are energy efficient.
Button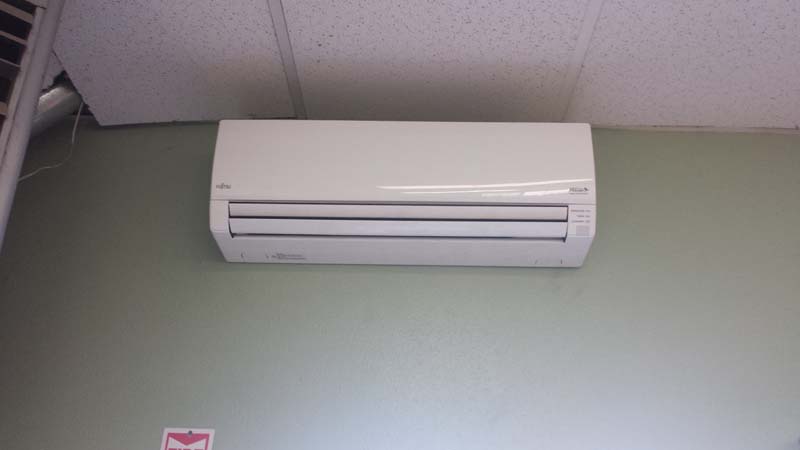
Slide title
Here is a picture of an air handler for a mini split system that was installed inside a classroom.
Button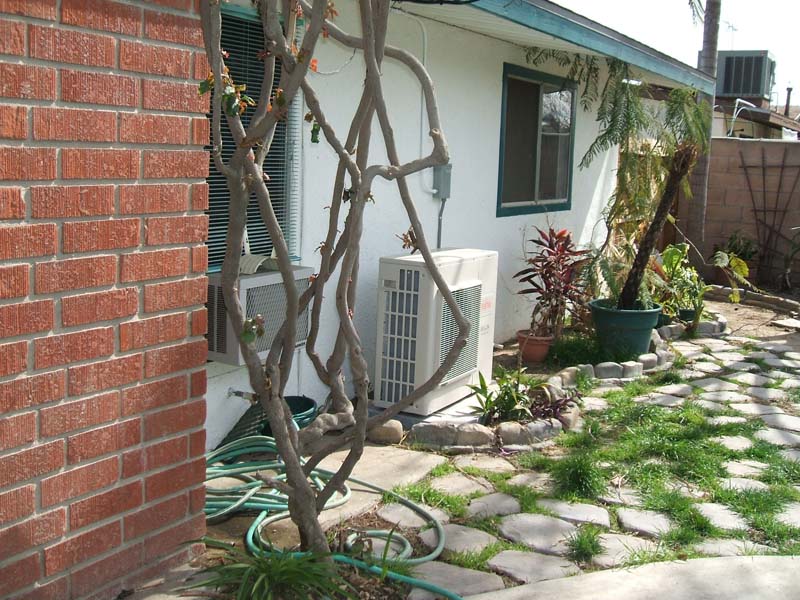
Slide title
Mini split systems make a great addition to any home that currently doesn't have an air conditioner or heater.
Button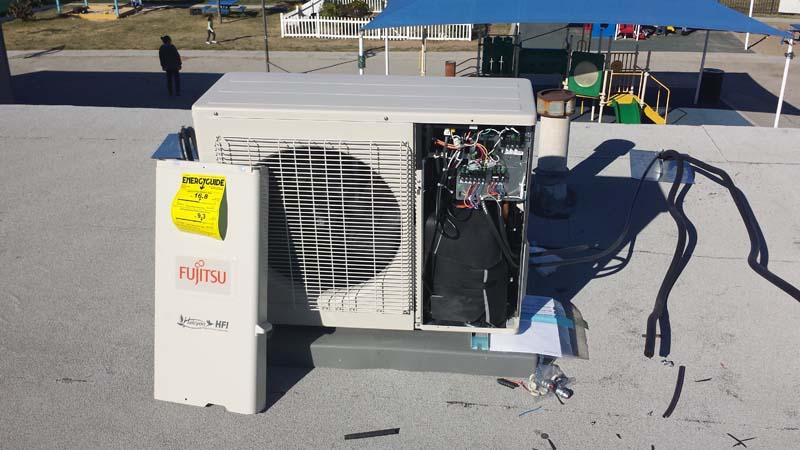
Slide title
Here is another picture of the condenser on the roof of the classroom. Ductless systems like this are great for classrooms.
Button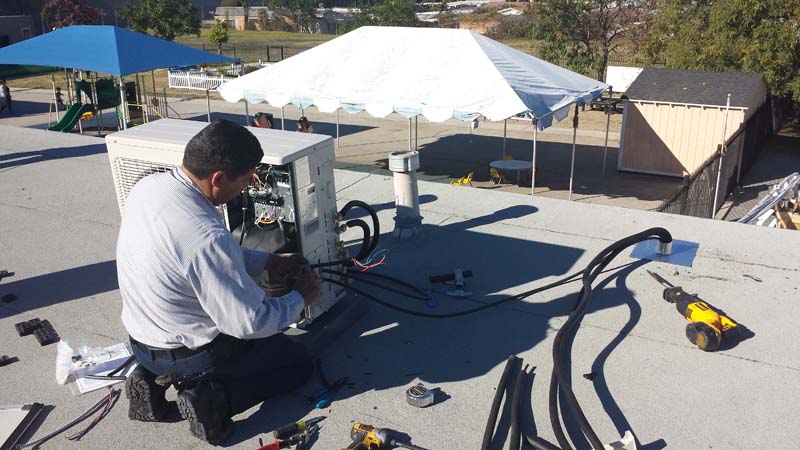
Slide title
The condenser for this mini split was installed on the roof. Here our technician is connecting the electrical lines.
Button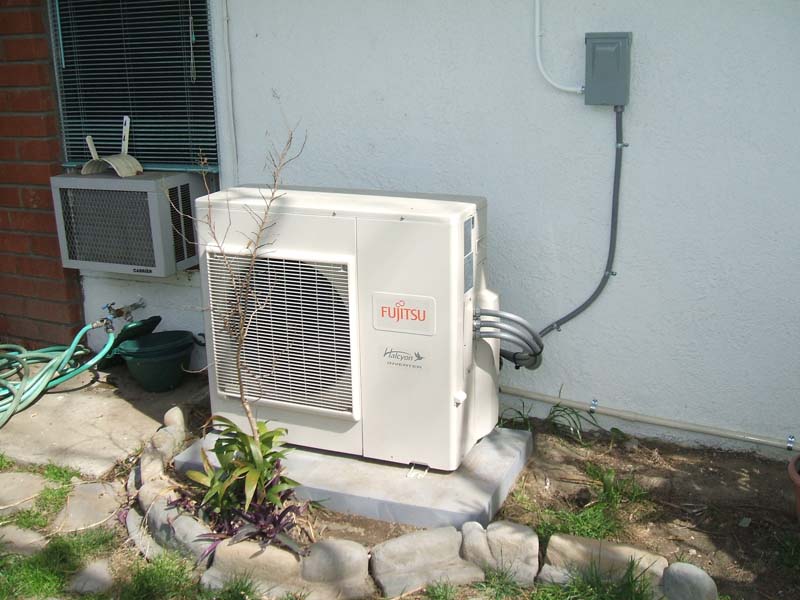
Slide title
These ductless systems take very little room and work better than window air conditioner units.
Button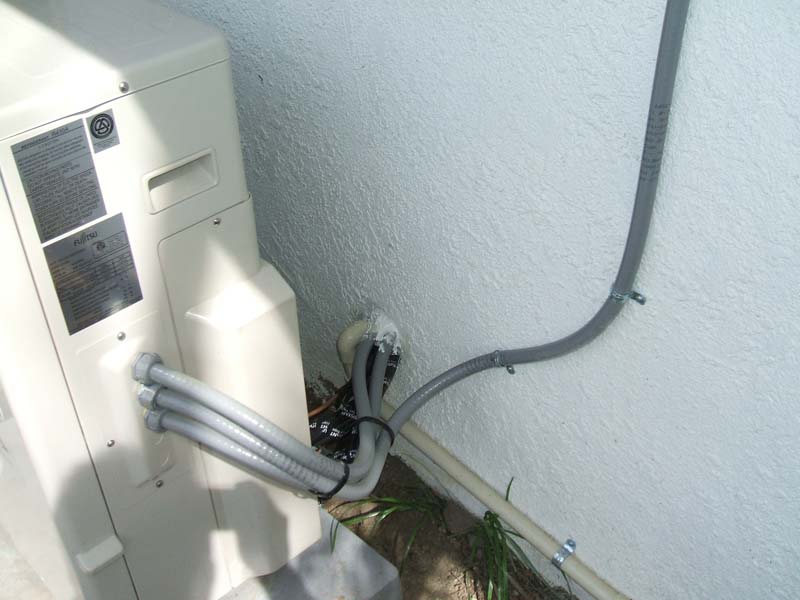
Slide title
You can see the lines that are needed to go into the home which connect to the air handler unit inside.
Button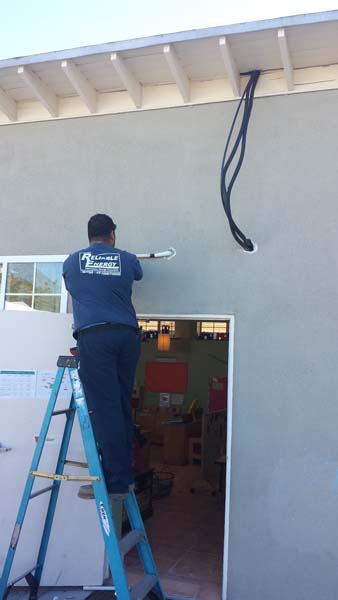
Slide title
Here one of our technicians is installing the drain lines for the mini split system.
Button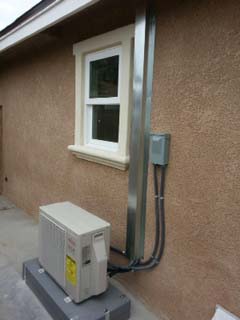
Slide title
Here you can see how we can help hide some of the lines that need to connect the air handler unit and condenser units together.
Button
Package Unit Installation
Slide title
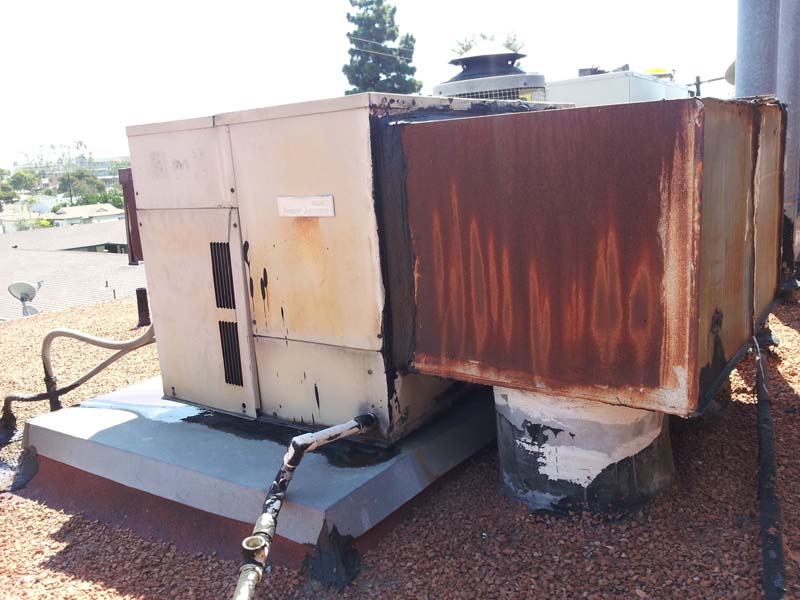
Here is a picture of the old package unit. You can see the old drain line and duct.
Button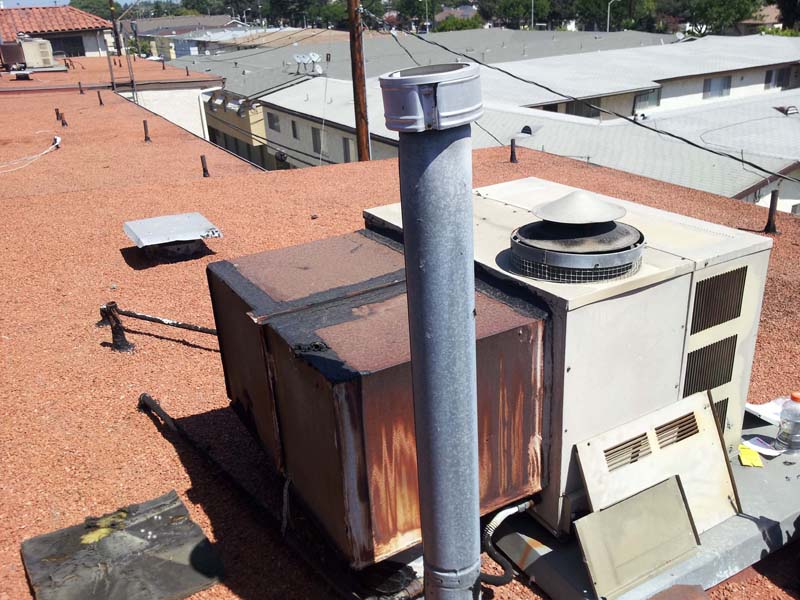
Slide title
This is the back side of the package unit. The brown rusted area is the old duct work.
Button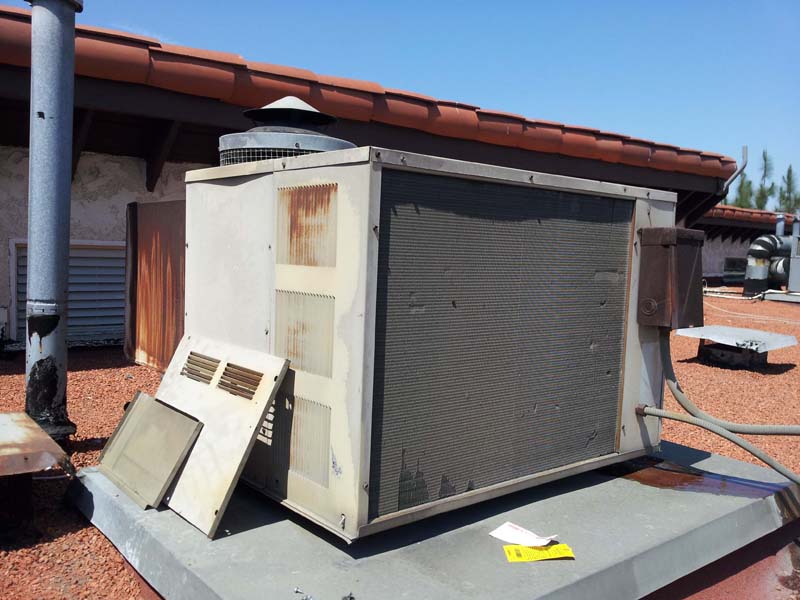
Slide title
The front side of old unit. This unit was about 30 years old.
Button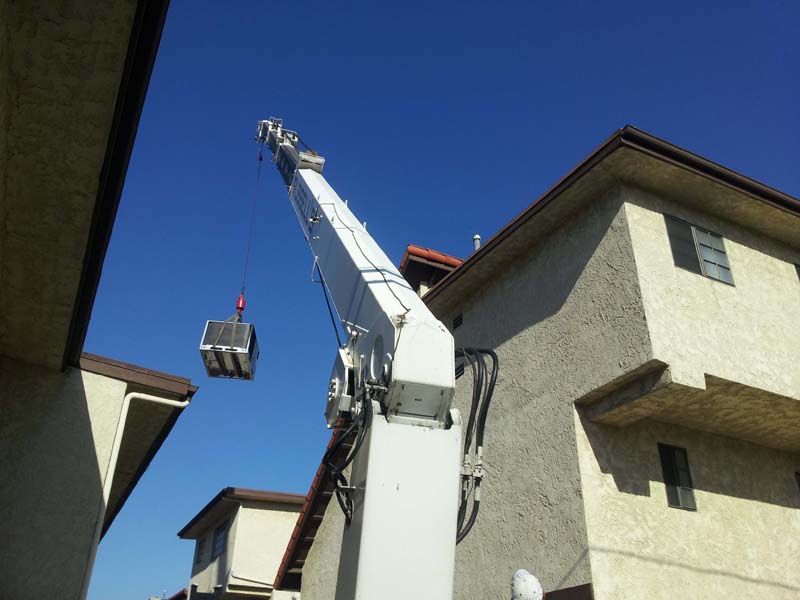
Slide title
Here you can see the new unit being lifted by the crane.
Button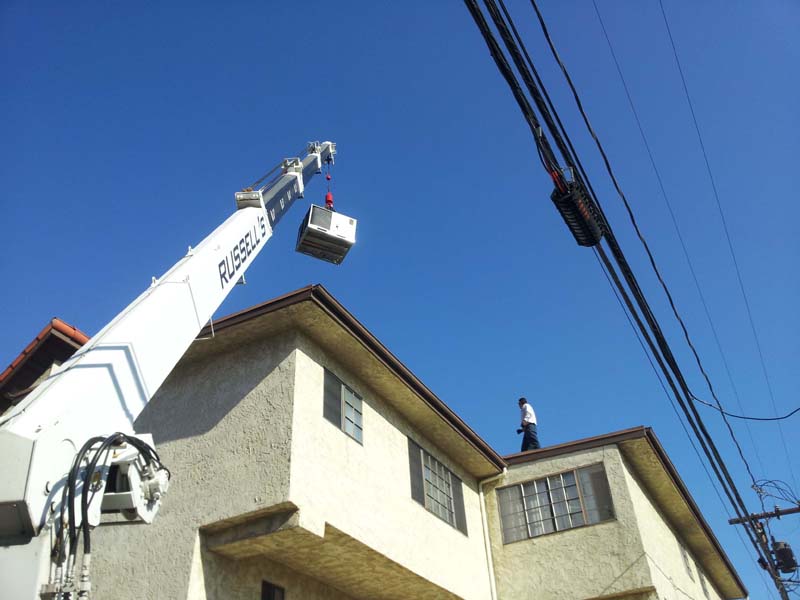
Slide title
The crane is preparing to lower down the unit and being guided by one of our installers on the roof.
Button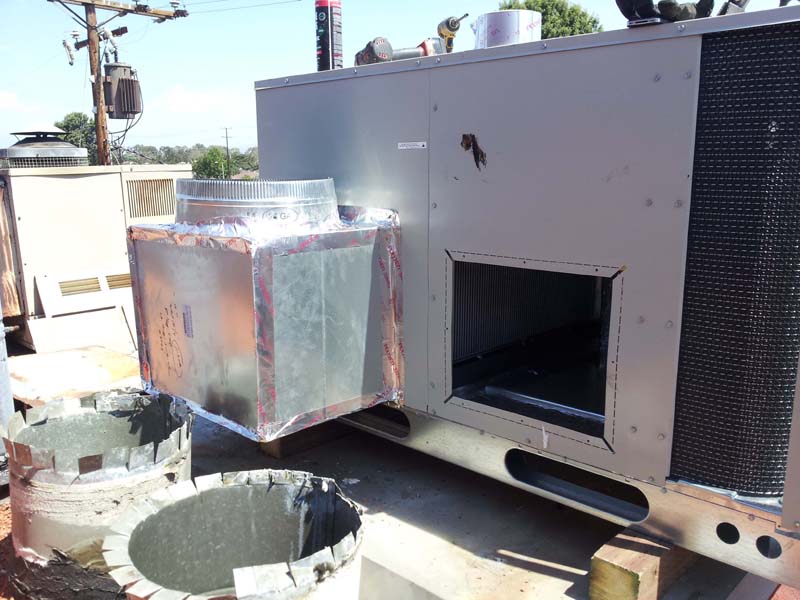
Slide title
With the new unit in place installation of the duct work can now begin.
Button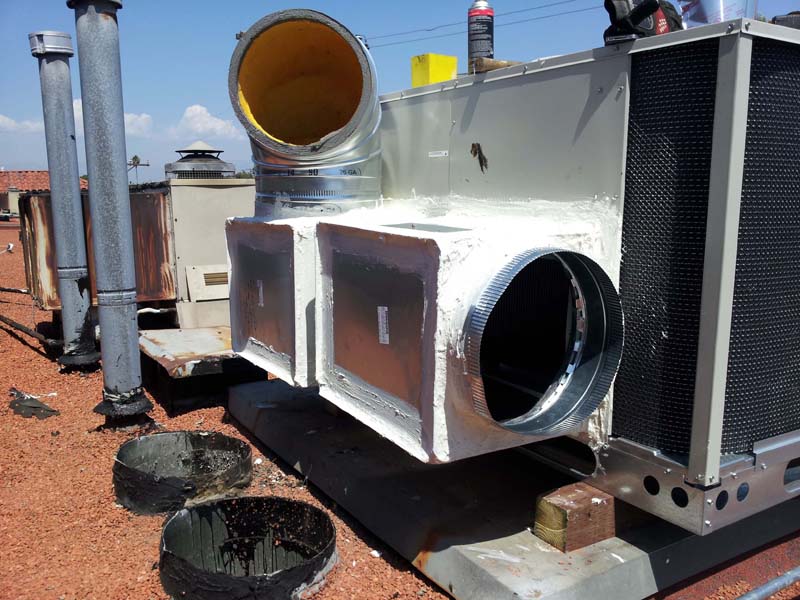
Slide title
The duct work has been installed on the package unit and will now need to be connected to the ducts coming out from the roof.
Button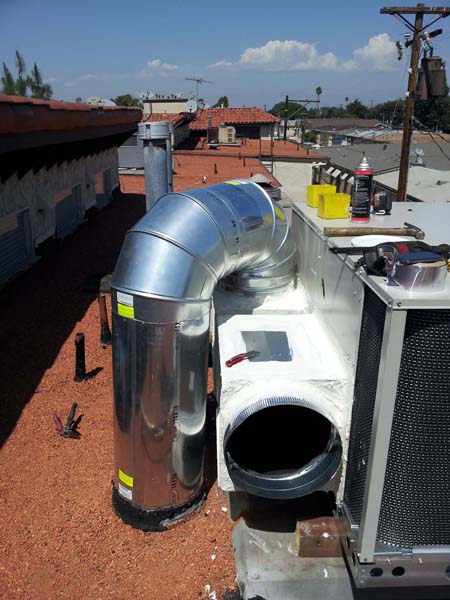
Slide title
Half of the duct work has been down and now work will begin on the other.
Button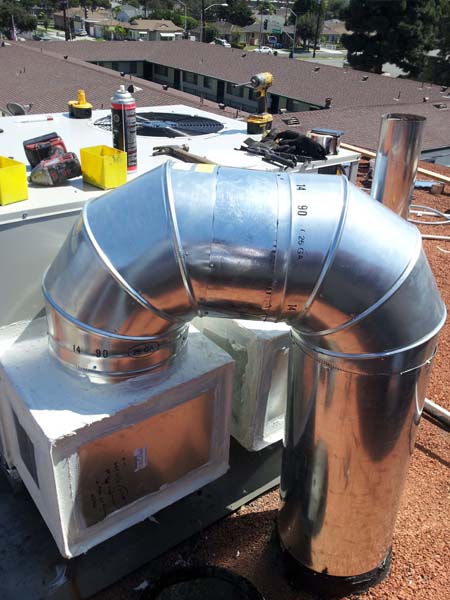
Slide title
Here is a close up picture of duct work. You can see how it connects to the existing duct coming from the roof.
Button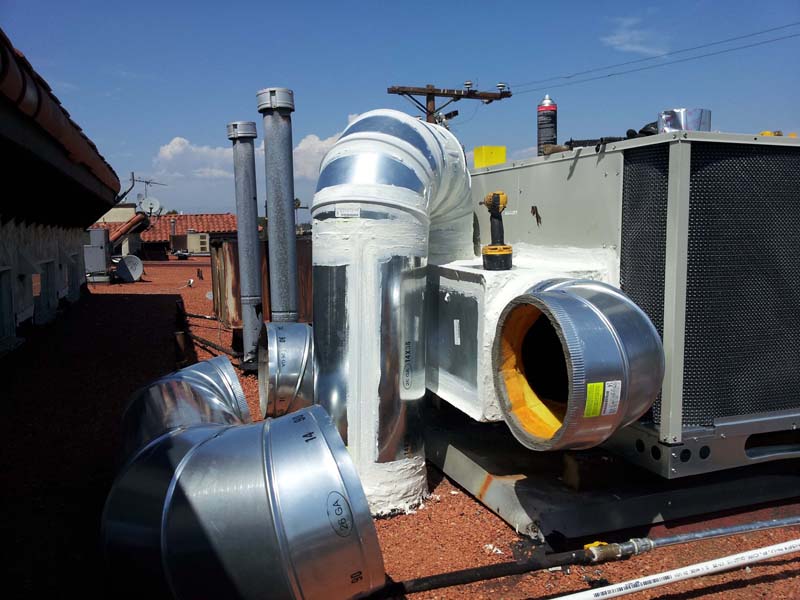
Slide title
The final piece of duct work needs to be connected. You can see how well insulated the new duct is.
Button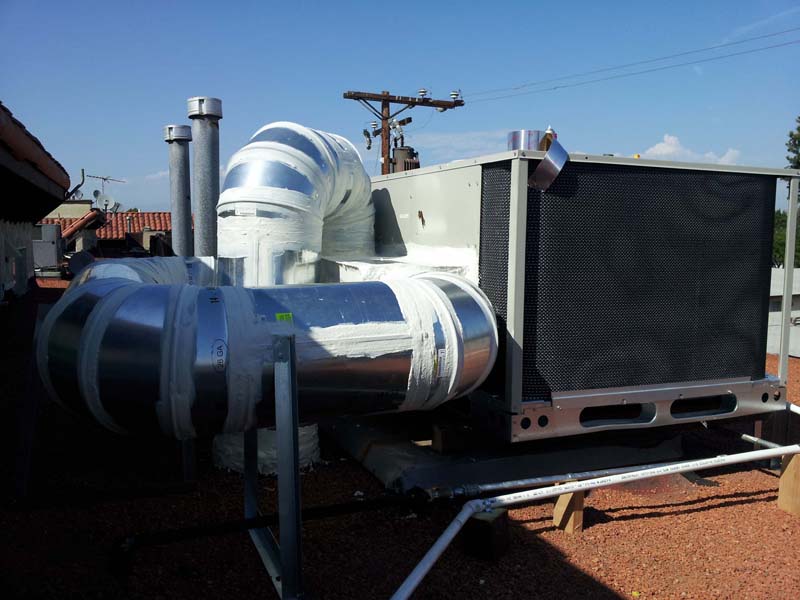
Slide title
The duct work is now complete and all that is left is to hookup electrical and gas line and test the unit.
Button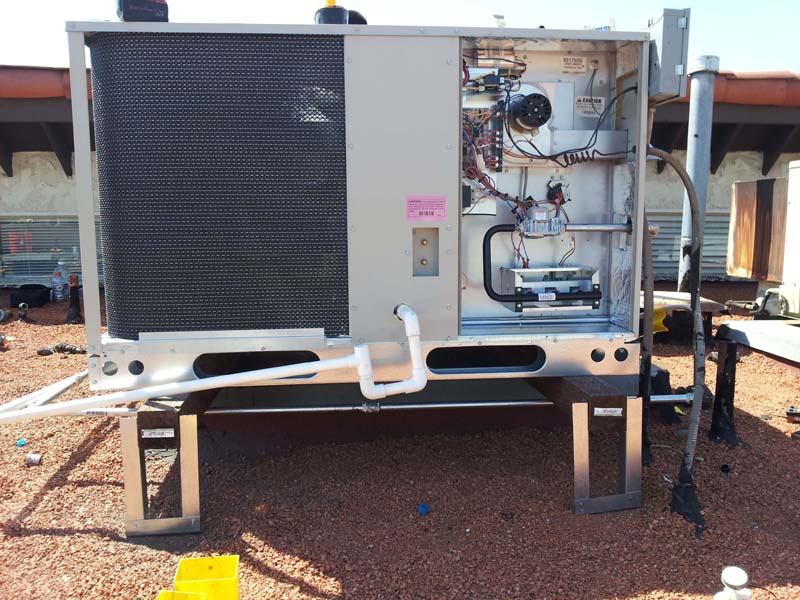
Slide title
Here you can see the drain pipe has been installed.
Button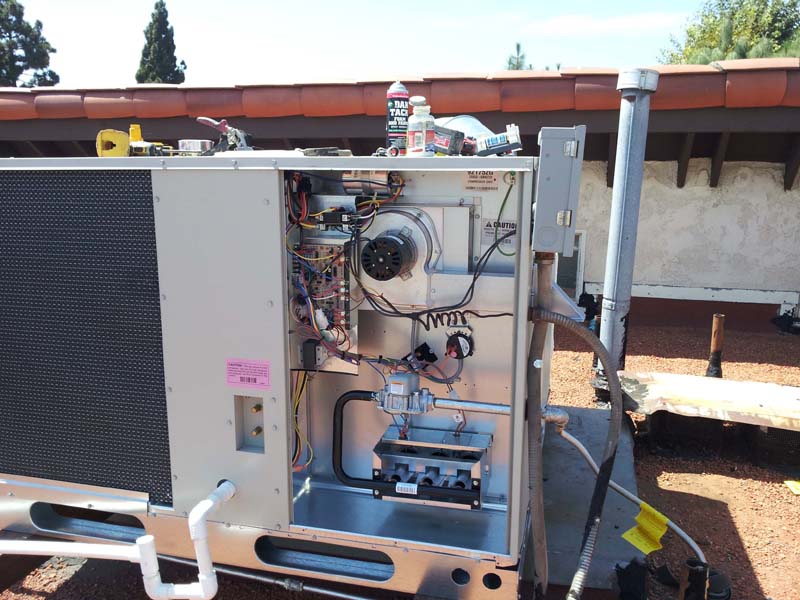
Slide title
The electrical has been connected along with the gas line.
Button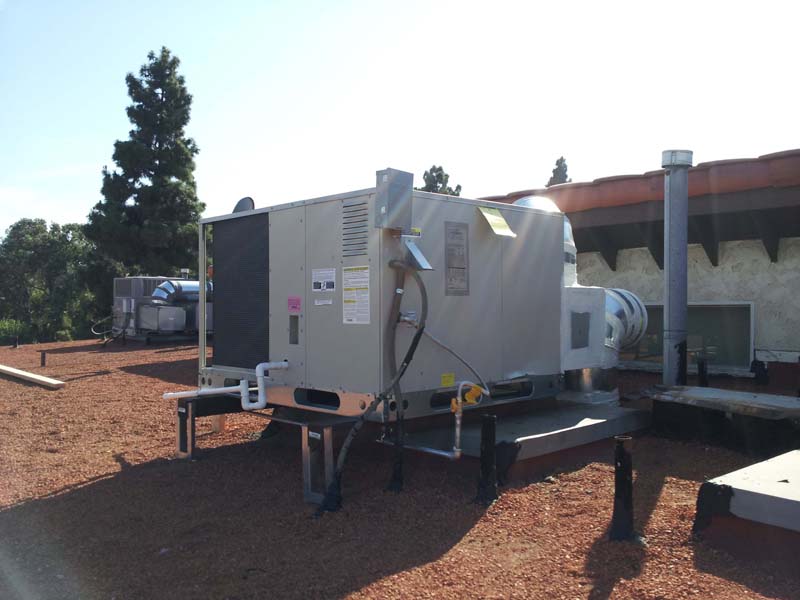
Slide title
With everything hooked up we can now run a test and make sure all connections are secure.
Button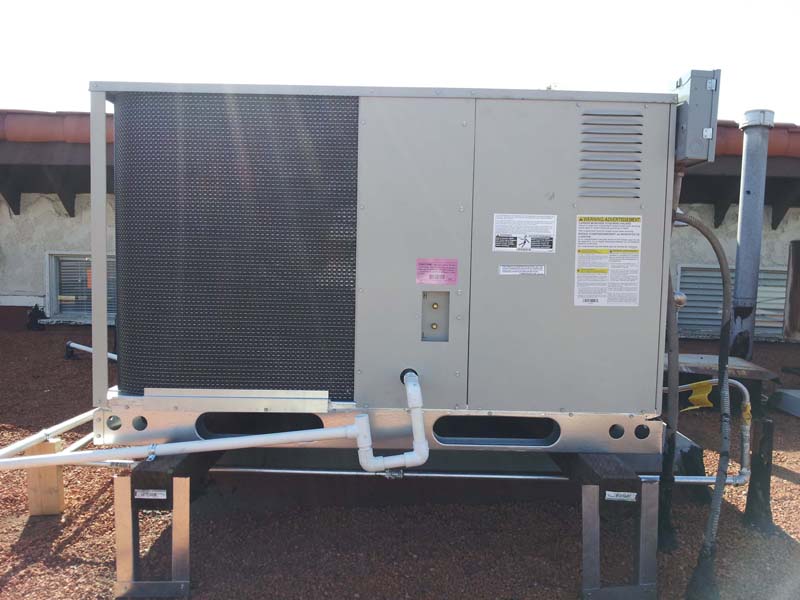
Slide title
After some testing and final checks the new package unit is up and running.
Button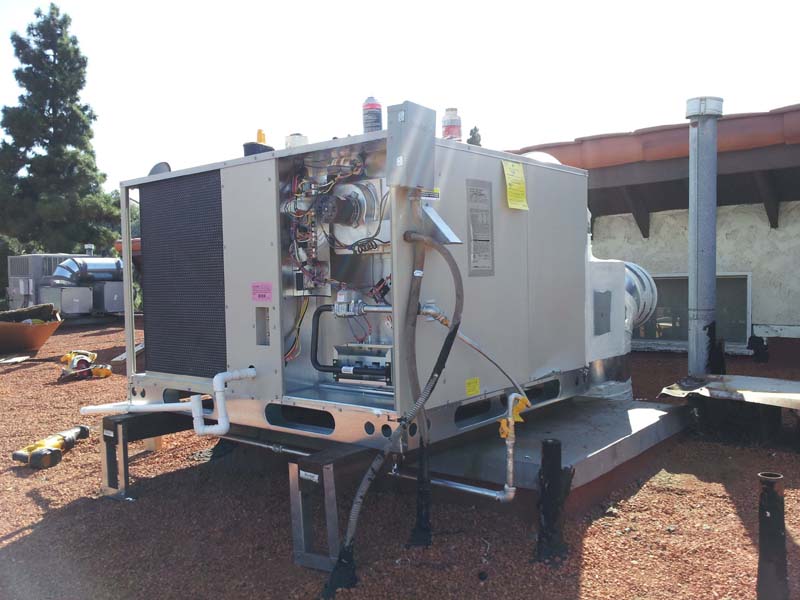
Slide title
Here is another picture with a wide view of the new unit fully installed and running.
Button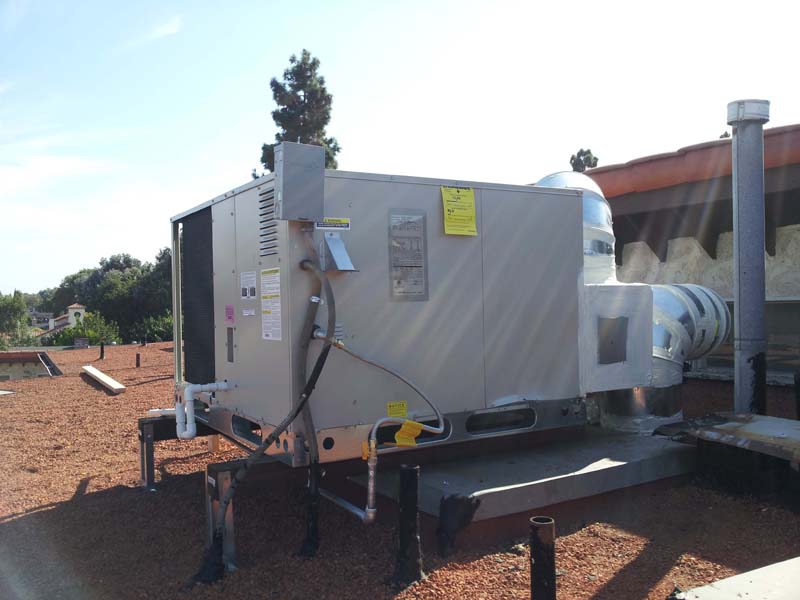
Slide title
This new unit will help the homeowner save money on their utility bills.
Button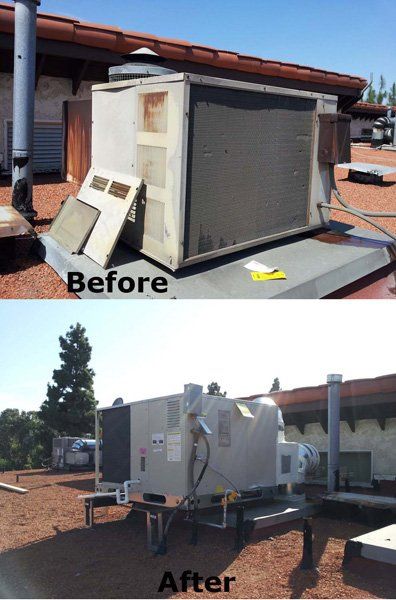
Slide title
Here are the before and after pictures of the replacement of a 30 year old package unit.
Button
Mini Split / Ductless Systems
Slide title
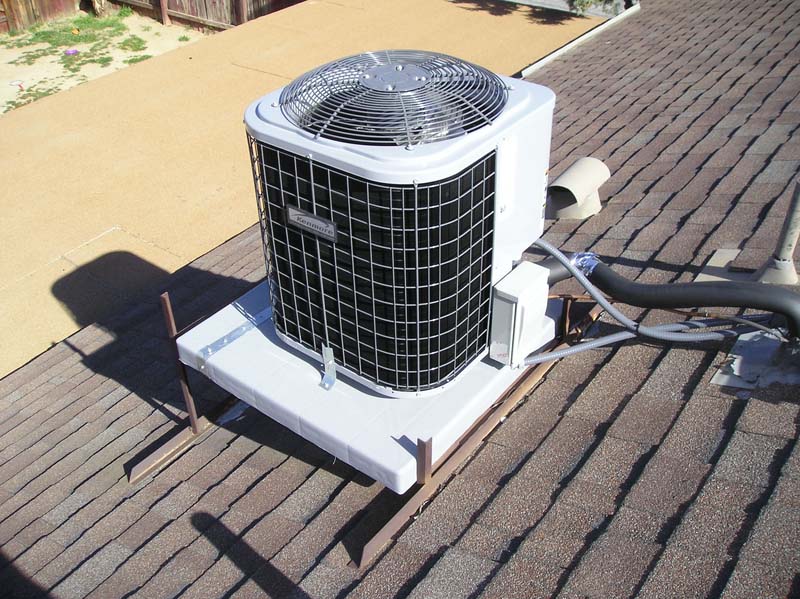
This is an installation of a condenser on the roof. You can see the line set going into the roof.
Button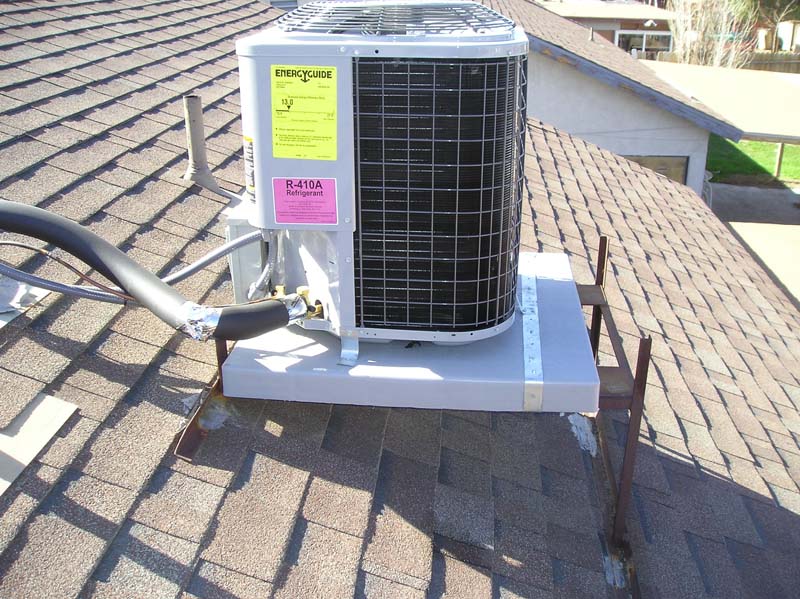
Slide title
We used the pre-existing stand for the installation of this condenser.
Button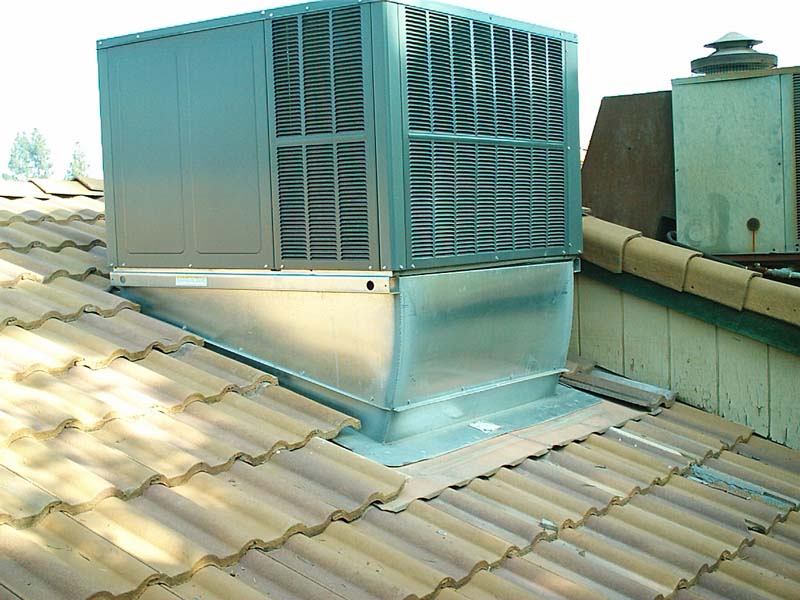
Slide title
This is what the installation of a unit will look like on tile roofs.
Button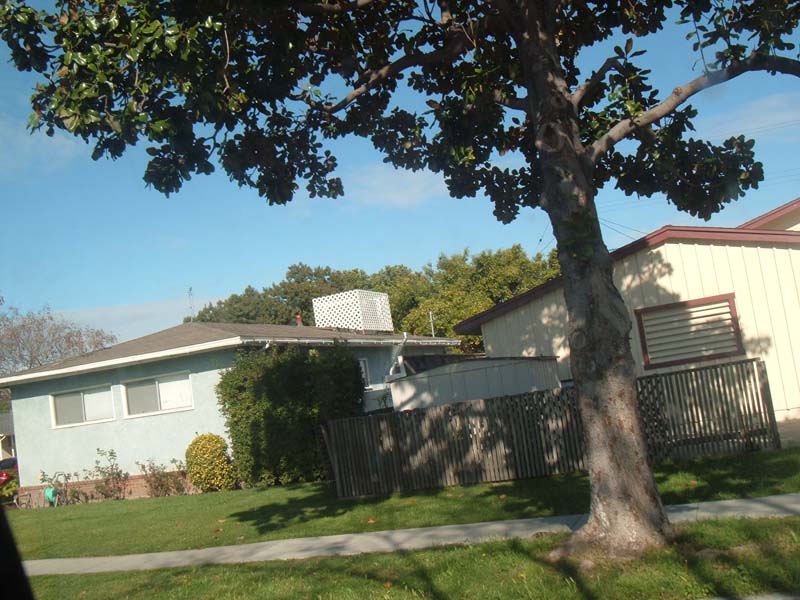
Slide title
We can also install a lattice fence around the condenser unit.
Button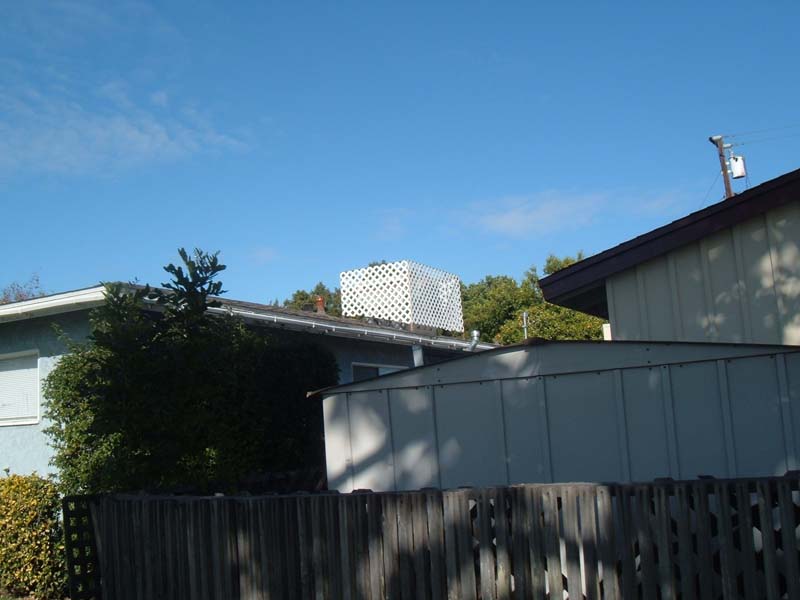
Slide title
Putting a lattice fence around a unit hides it when looking at it from the street.
Button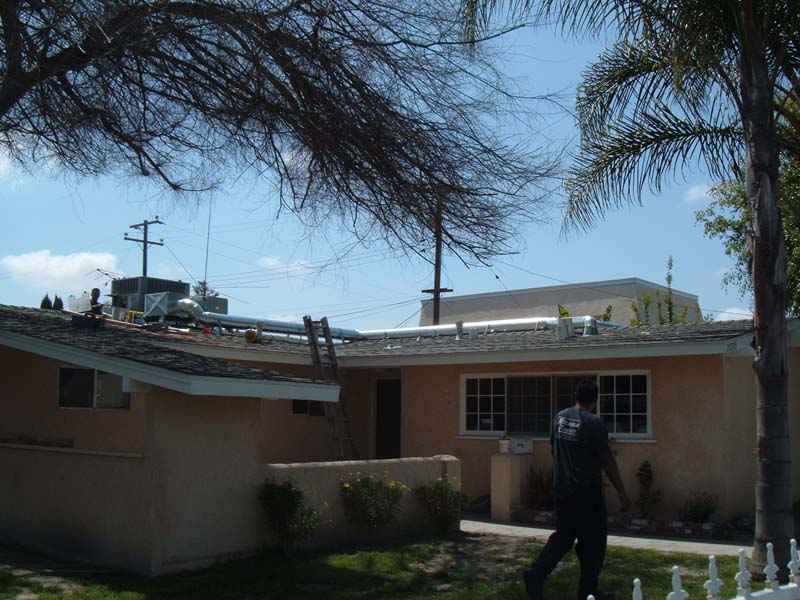
Slide title
In cases where the home has no attic (flat roof) we can install the unit and duct work along the roof.
Button
CSLB License #704414
6829 Walthall Way, Paramount, CA 90723


